

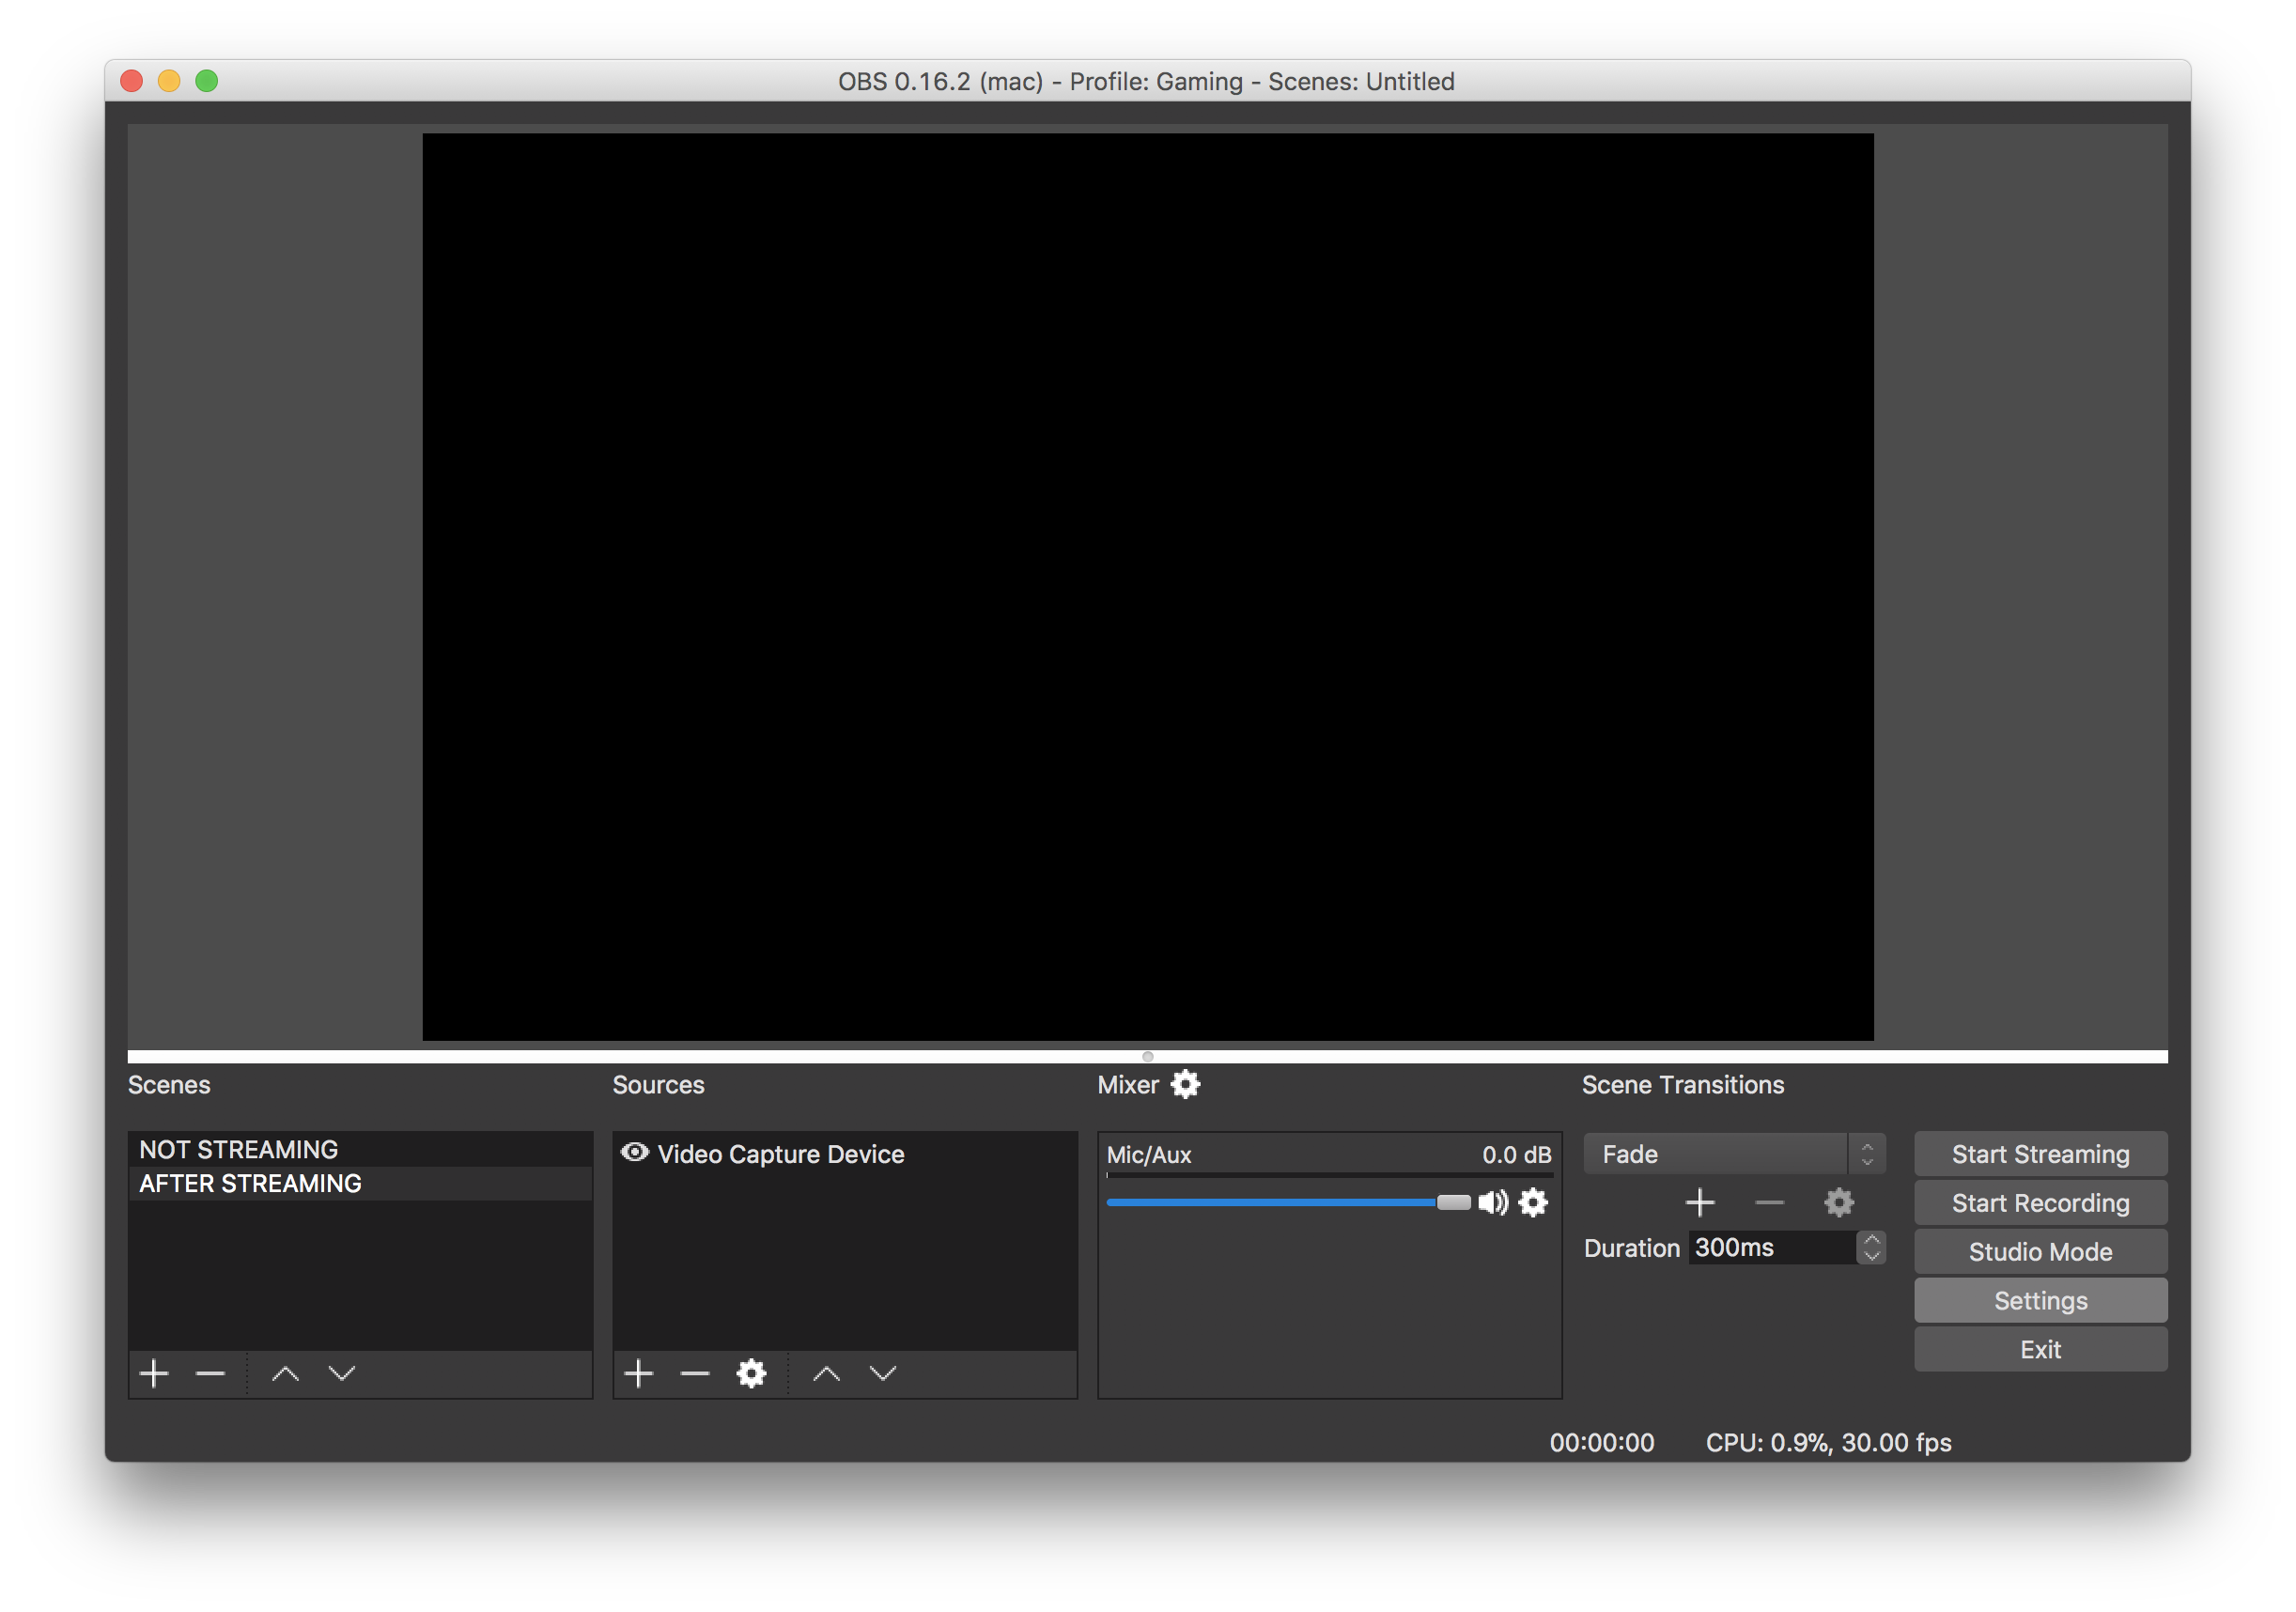
- For instructions on how to Add an Input Source for OBS, please visit that article by clicking the button below:
- Click Settings, which should be in the bottom right hand corner
- Click on Stream on the left hand side, then click on Stream Type and set to Custom Streaming Server

- So the URL will look like this:
rtmp://live2.omnia-app.org:5222/app
- And Stream Key would be: (This is a fake Stream Key, you will need to find your own at https://app.omnia.church/streams)
b94f6fe6-4512-2bdf-9d2d-b1c2be1a25fc
- You can find your team's Server URL and Stream Key on the Streams page: https://app.omnia.church/streams

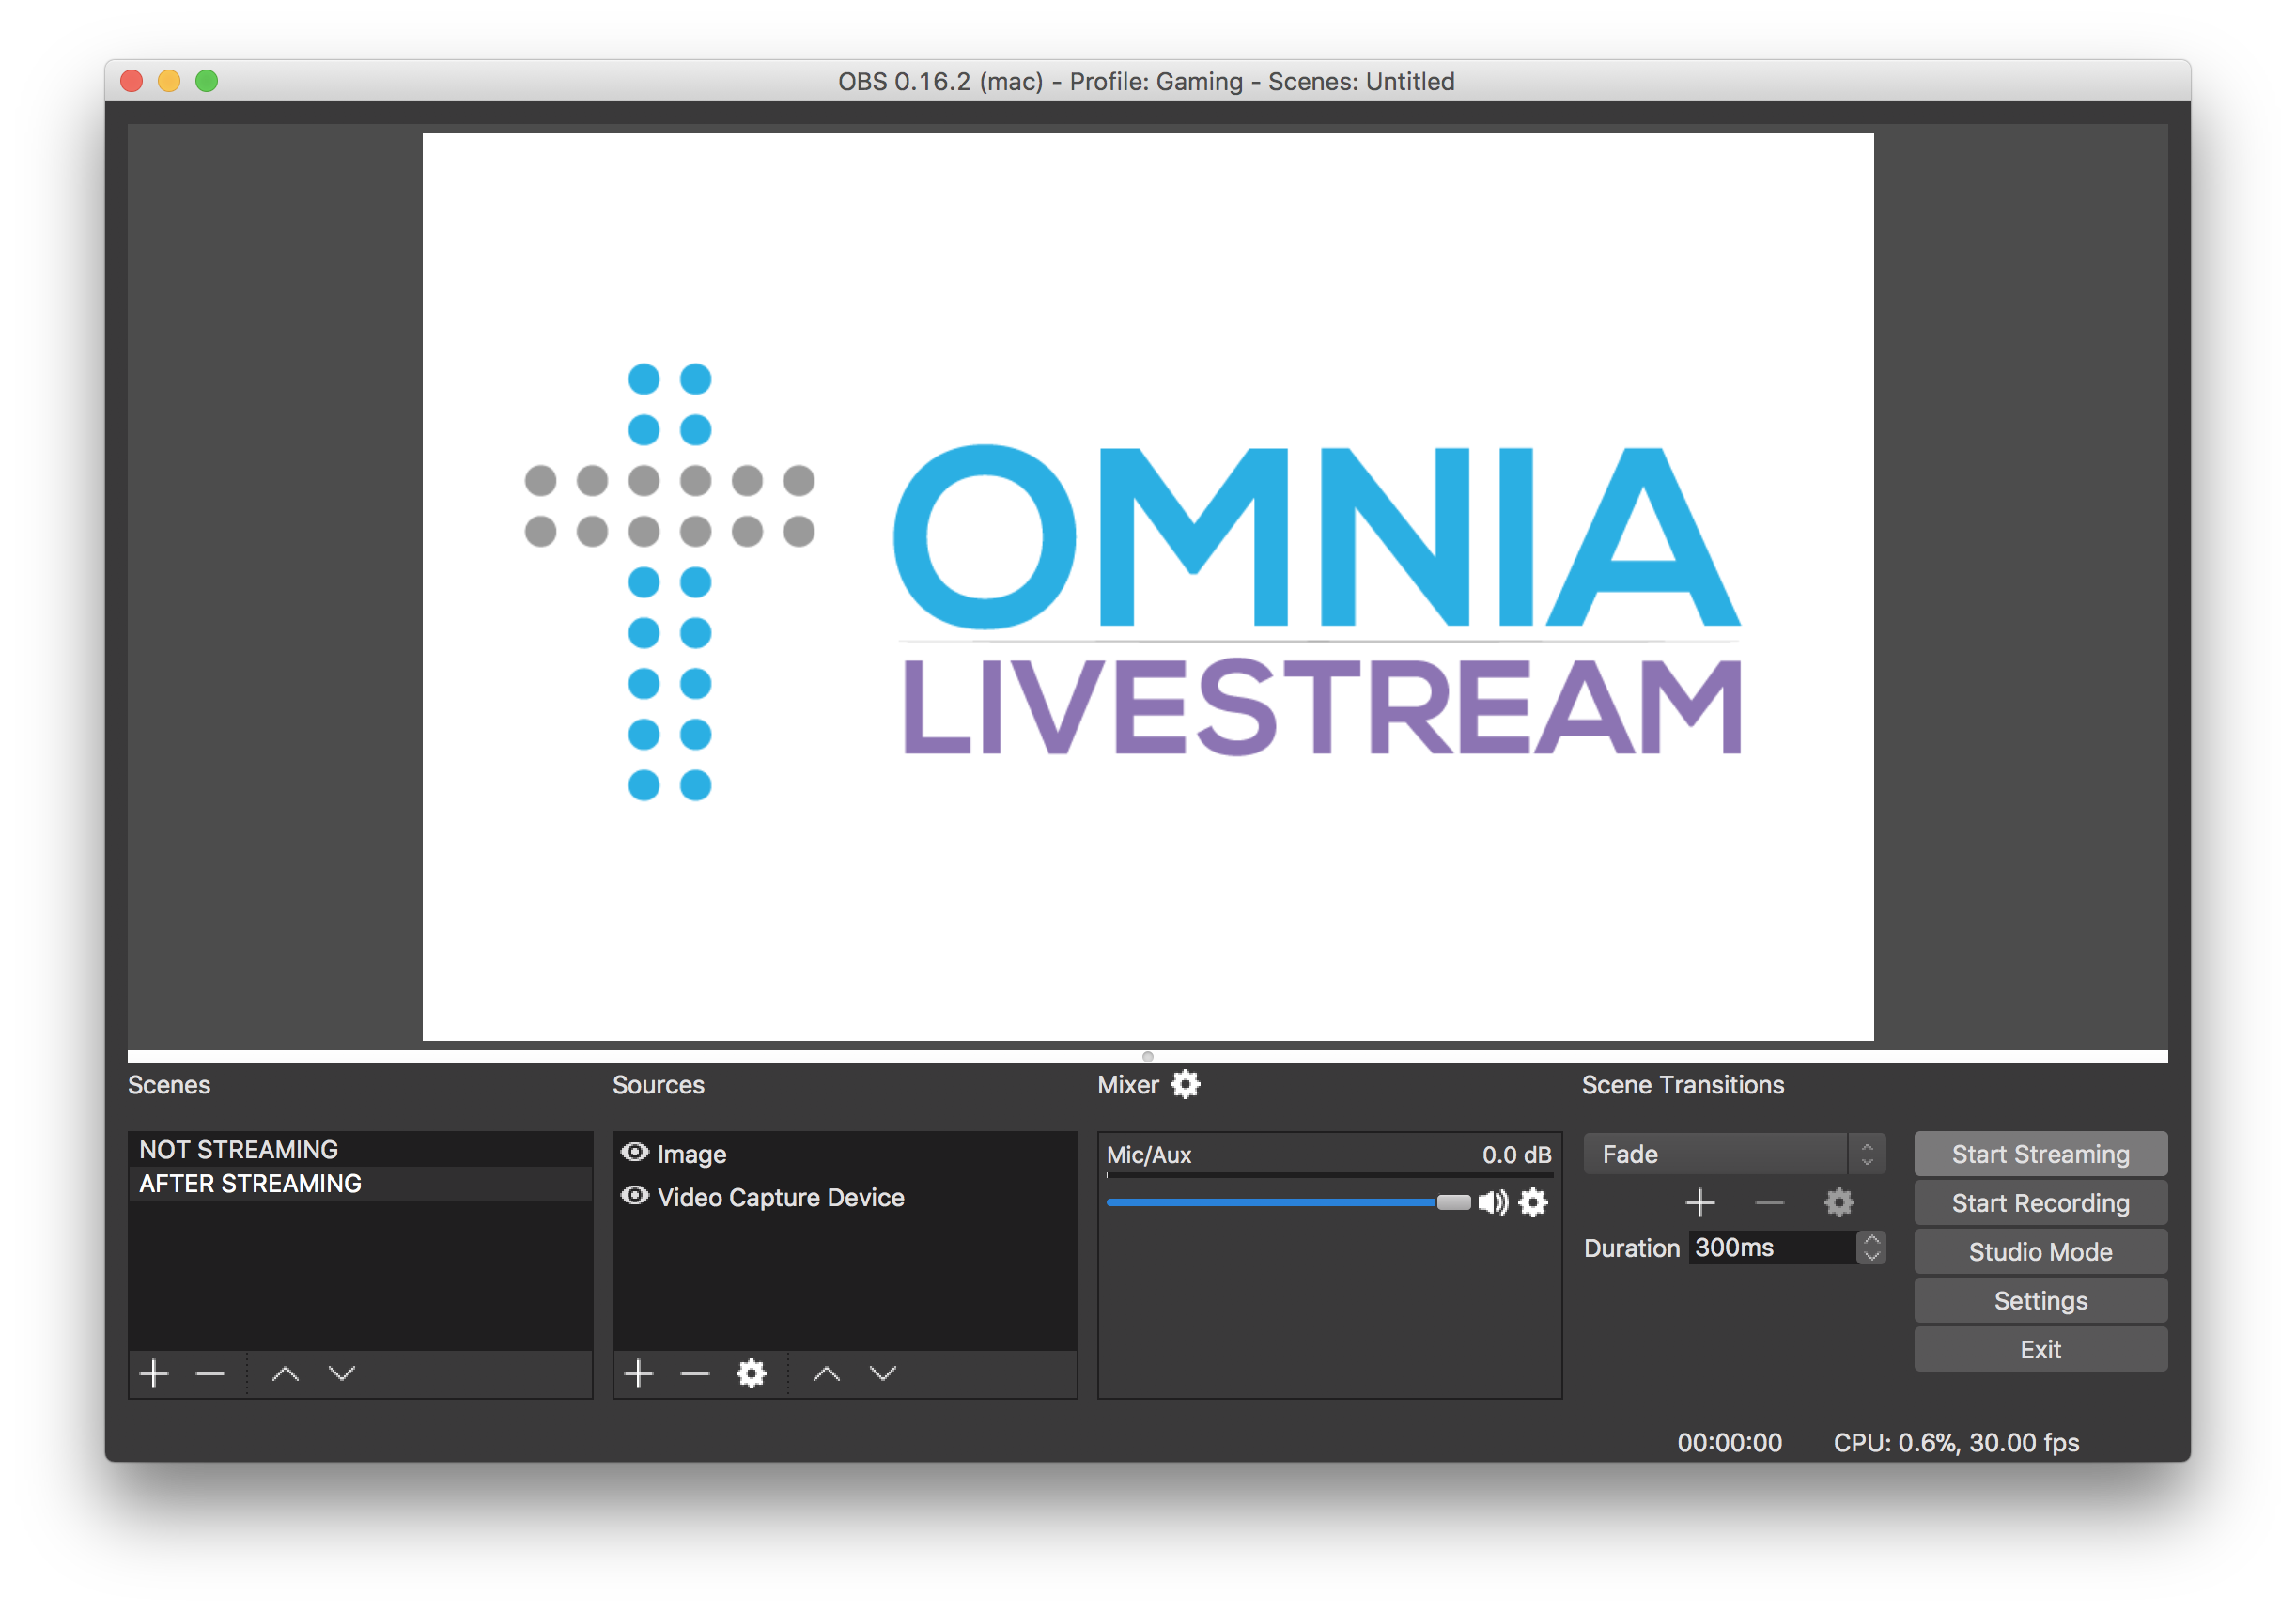
- Once you find them, enter them into OBS
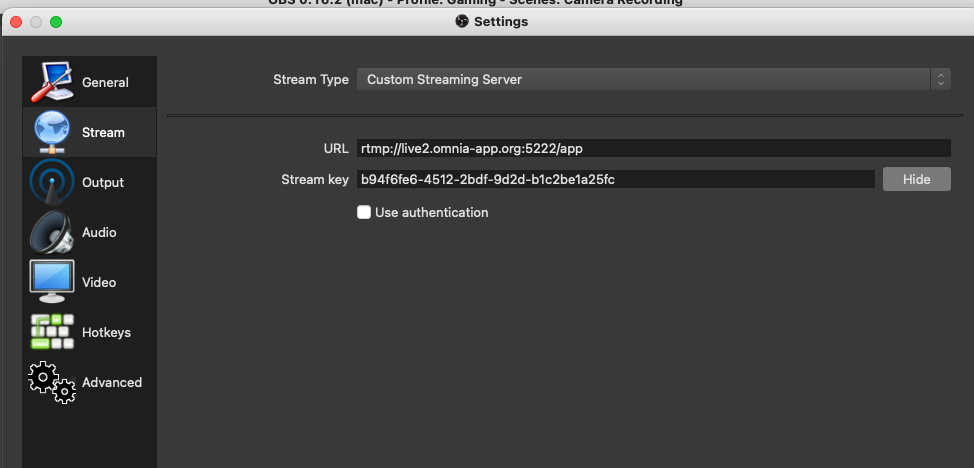
NOTE: Make sure the "Use Authentication" box is NOT checked
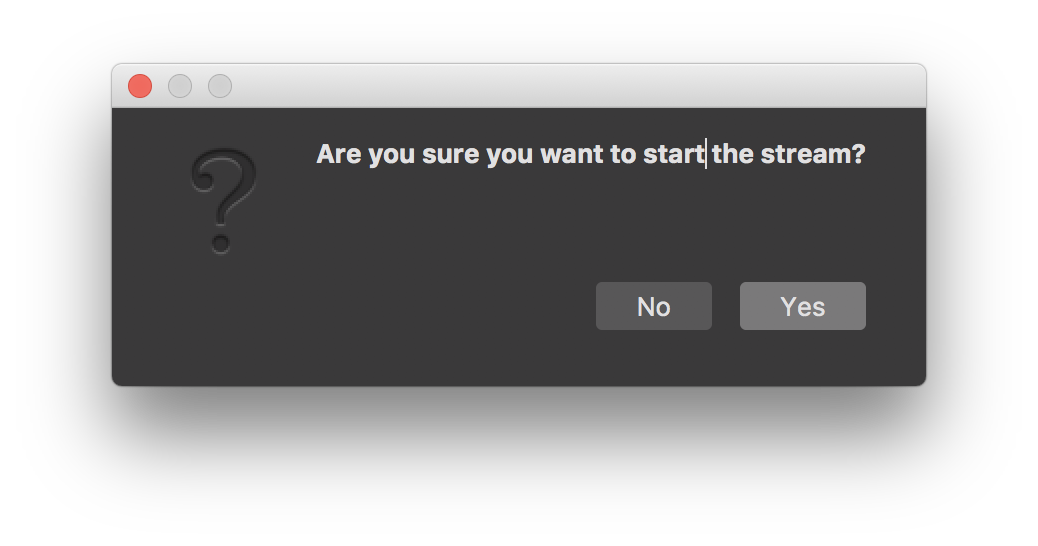
- Finally, click Start Streaming in the bottom right-hand corner, then click Yes at the prompt
- If you see this popup below, simply click Yes.
- That's it! You should now be livestreaming to your Omnia Livestream account! Congratulations!
- Now go to your Channels page and open your channel to see your stream! (https://app.omnia.church/channels)